Tracking HubSpot Forms with Google Analytics: A Comprehensive Guide
Introduction
At 3WH, we understand the importance of tracking and analysing data to make informed decisions and optimise our online marketing efforts. One crucial aspect of this process is tracking form submissions on our website. This thorough manual will show you how to easily combine HubSpot forms with Google Analytics so you can gain insightful data and enhance your entire marketing approach.
Why Track HubSpot Forms with Google Analytics?
HubSpot provides a powerful and user-friendly platform for creating and managing forms on your website. By combining the capabilities of HubSpot forms with the analytical power of Google Analytics, you gain a deeper understanding of how your forms are performing, enabling you to make data-driven decisions to enhance user experience and maximize conversions.
Step 1: Set Up Google Analytics Tracking Code
Before we can start tracking HubSpot forms, ensure that you have correctly installed the Google Analytics tracking code on your website. This code enables Google Analytics to collect data and generate detailed reports about your website's traffic and user behavior.
Just adhere to these easy instructions to configure the tracking code:
- Log in to Google Analytics and choose the property that corresponds to your website.
- Click "Tracking Info" in the "Property" column under the "Admin" section.
- Select "Tracking Code" to access the JavaScript tracking code snippet.
- Copy the entire tracking code snippet provided.
- Open your website's HTML source code in a text editor.
- Locate the <head> section of your HTML file.
- Paste the tracking code snippet just before the closing </head> tag.
- Save and publish the updated HTML file to your website.
Congratulations! You have successfully set up the Google Analytics tracking code on your website, laying the foundation for tracking HubSpot forms.
Step 2: Identify Your HubSpot Form
To track a specific HubSpot form using Google Analytics, you first need to identify the form's unique identifier. Follow these steps to find the HubSpot form ID:
Log in to your HubSpot account.
- Select "Lead Capture" from the drop-down menu on the "Marketing" tab.
- Click "Forms" to view a list of all your active forms.
- Choose the form you want to track and click on its name to access the form editor.
- In the form editor, locate the URL in your browser's address bar. The URL will look similar to this: https://app.hubspot.com/forms/XXXXXXXX-XXXX-XXXX-XXXX-XXXXXXXXXXXX/edit/form.
- Make a note of the alphanumeric ID after /forms/ in the URL. This ID uniquely identifies your HubSpot form and will be required in the next steps.
Step 3: Configure Event Tracking in Google Analytics
With the form ID in hand, let's proceed to configure event tracking in Google Analytics. By tracking form submissions as events, you can gain insights into user interactions and goal completions.
To set up event tracking, follow these instructions:
- Access your Google Analytics account and select the property associated with your website.
- Click on "Goals" in the "View" column under the "Admin" section.
- Click on the "+ New Goal" button to create a new goal for tracking form submissions.
- Choose the "Custom" option and click "Continue."
- Give your goal a descriptive name, such as "HubSpot Form Submission."
- Select the "Event" type and click "Continue."
- In the "Event conditions" section, configure the following fields:
- Category: Enter a relevant category, such as "Form Submission."
- Action: Specify an action that represents the form submission, such as "Submit" or "Completion."
- Label: Optionally, add a label to provide further details or context.
- Value: Leave this field blank.
- Click "Save" to create the new goal.
Step 4: Implement Event Tracking on Your HubSpot Form
Now that you have configured event tracking in Google Analytics, it's time to implement the tracking code on your HubSpot form. This code will send an event to Google Analytics each time the form is submitted, allowing you to capture valuable data.
Follow these steps to implement event tracking:
- In your HubSpot account, navigate to the form you want to track.
- Access the form editor for the chosen form.
- Click on the "Options" tab.
- Scroll down to the "Form Submission" section and enable the "Send data to an external URL" option.
- In the "External URL" field, enter the following JavaScript code:
html
Copy code
<script>
(function() {
var form = document.querySelector('#YOUR_FORM_ID');
form.addEventListener('submit', function() {
ga('send', 'event', 'Form Submission', 'Submit');
});
})();
</script>
- Replace #YOUR_FORM_ID with the form ID you obtained earlier.
- Save the changes to your HubSpot form.
Congratulations! You have successfully implemented event tracking on your HubSpot form. You may track and examine form submissions by sending an event to Google Analytics each time a visitor submits the form.
Conclusion
By integrating HubSpot forms with Google Analytics, you unlock a wealth of valuable data that can drive your marketing strategy forward. Tracking form submissions provides insights into user behavior, conversion rates, and overall website performance. With the comprehensive guide we've provided, you now have the knowledge and tools to outrank competitors in search engine rankings and make data-driven decisions to optimize your online presence.
Tracking HubSpot Forms with Google Analytics

Diagram:
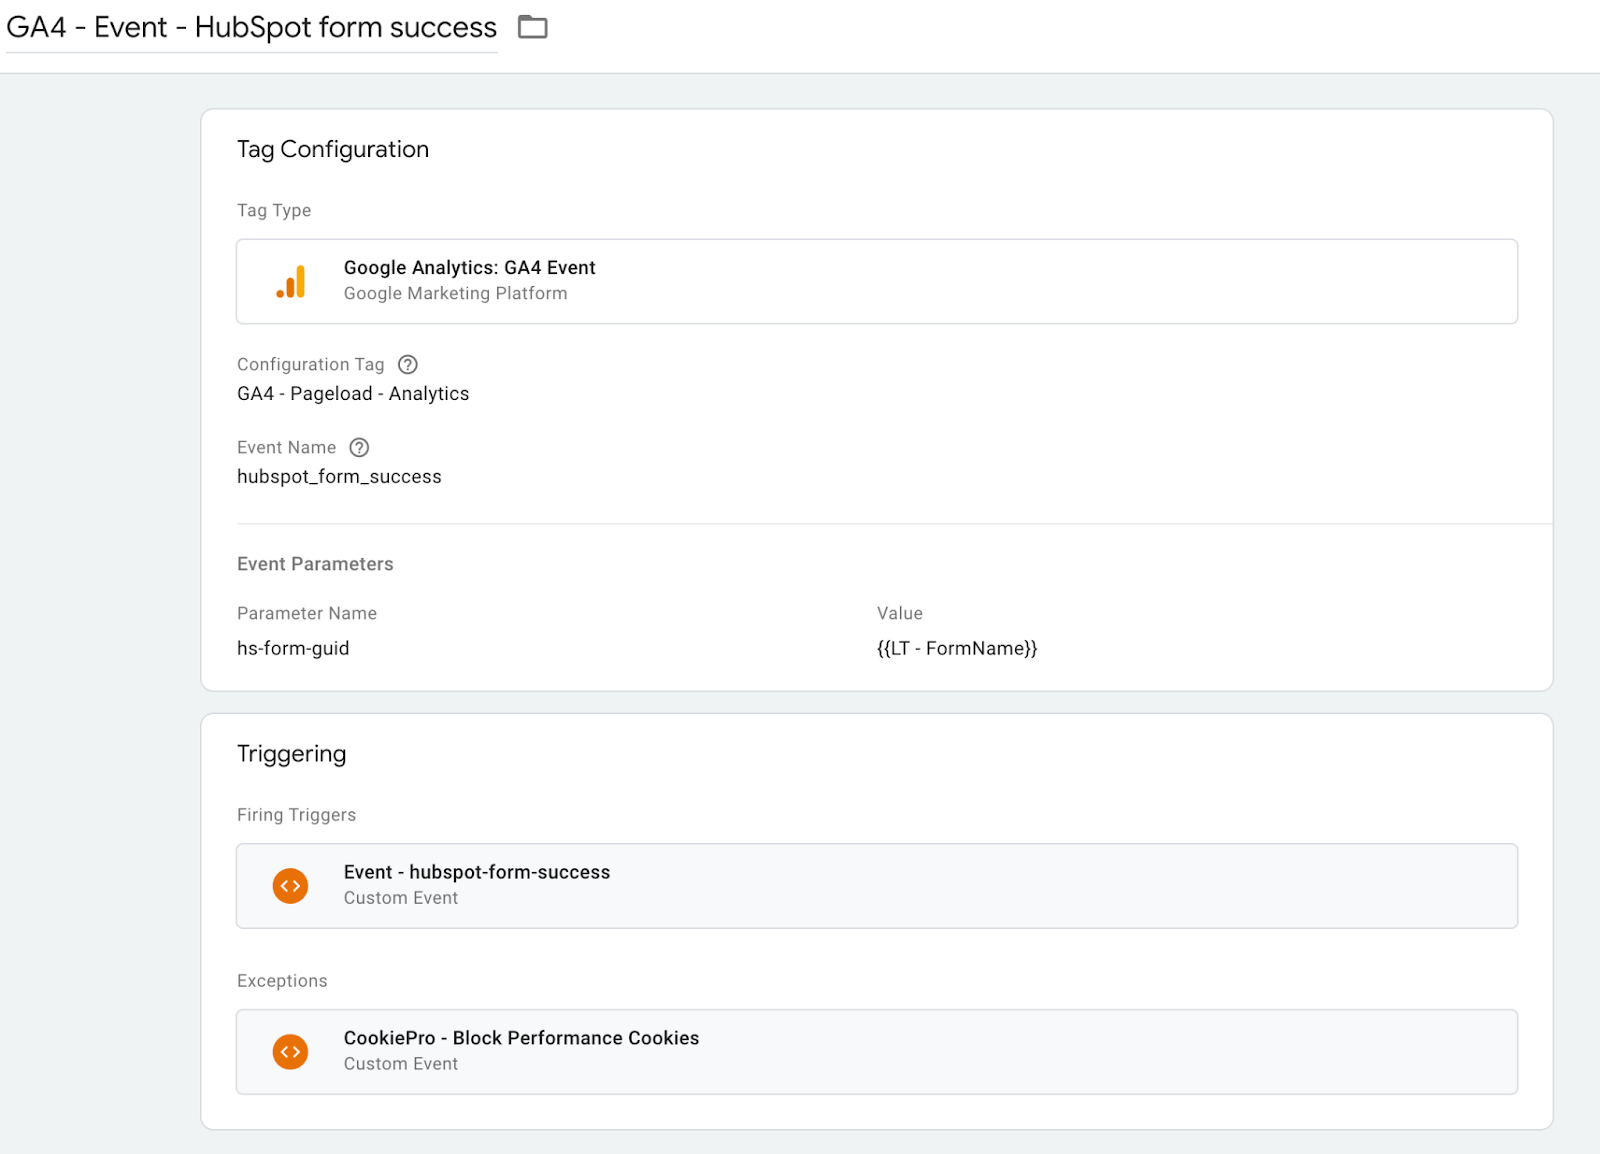
The diagram above illustrates the seamless integration between HubSpot forms and Google Analytics, enabling effective tracking of form submissions and data analysis for enhanced marketing insights.
Note: The diagram, which provides a visual depiction of the procedure, can be adjusted to meet your unique requirements.
Remember, at 3WH, we are passionate about helping businesses succeed in the digital landscape. Stay tuned for more insightful guides and expert tips to enhance your marketing efforts.


